Showing posts with label Thanksgiving. Show all posts

Tuesday, November 23, 2010

Pumpkin Whoopie Pies

My boys are out of school all week this week for Thanksgiving break (I'm lovin' having them home!) so I decided to take this opportunity to make some Pumpkin Whoopie Pies together.  We'll be taking them over to our friend Thomas' house tomorrow for our Kid Thanksgiving celebration!  I found the recipe here.

 When I told the boys we were making Whoopie Pies they cracked up.  I guess "whoopie" sounds a lot like potty talk and you know how funny potty talk is to elementary age boys!  Once they quit laughing they asked "Is that really what their called?"  Yep.

Disclaimer!
Now, before you start thinking "Wow!  What a great mom to get in the kitchen with her boys and let them have at it!"   Let me tell ya somethin'...it was excruciating!  If you know me, perhaps you already know I am a control freak!  This whole idea of letting my boys bake is tough for me.  But, I stood back and gave verbal instructions and let them do it by themselves.

They actually washed their hands without me having to tell them to!

This is what you'll need:

Pumpkin Cookies
2 eggs
2 cups light brown sugar
1 cup vegetable oil
1 teaspoon vanilla extract
1 (15 oz) can pumpkin
3 cups flour
1 tablespoon pumpkin pie spice (**recipe follows)
1 teaspoon baking powder (**recipe follows)
1 teaspoon baking soda
1 teaspoon salt

Filling/Cream Cheese Frosting
4 ounces cream cheese, softened
1/2 cup butter, softened
2 teaspoons vanilla extract
4 to 5 cups confectioners' sugar

Here's what you do:

Step 1:  Heat the oven to 350F.  Take a deep breath and read first part of recipe to boys; "Beat the eggs, brown sugar, oil and vanilla extract in a mixing bowl until smooth.  Stir in the pumpkin.  In a separate bowl, combine the flour, pumpkin pie spice, baking powder, baking soda and salt.  Add the dry ingredients to the egg mixture a half cup at a time, blending each time until smooth."  Heartbeat a bit elevated but still under control.  Focus on breathing.
 They took turns cracking the eggs.
 No shells!
 Easy does it!
What was I thinking?  This could have ended up all over the place!
This is what we ended up with.

Step 2:  Take another deep breath and remind yourself that they are having fun and so are you.  Read next step of the recipe; "Drop a heaping tablespoon of batter onto an ungreased cookie sheet, using a moist finger or the back of a spoon to slightly flatten each mound.  Bake the cookies for 12 minutes, then transfer them to a wire rack to cool completely."  Okay, starting to freak out now.  Controlled breathing...
 It took everything I had to watch this and not take over!  These are supposed to be round...ish!
 Little Brother doesn't look too impressed.
What a sight!
"Are they almost done?"

Step 3:  I'm feeling a little light headed.  Is this normal?  Am I the only one who's hot right now?  Keep breathing.  Distract kids with something else.  Read next step...to myself; "Meanwhile, make the frosting.  Beat together the cream cheese, butter and vanilla extract in a bowl until light and fluffy.  Mix in the confectioners' sugar a half cup at a time, until the frosting is spreadable."  (The recipe calls for more sugar than I think you need or can even get incorporated.  I say, find a taste and consistency you like and go with that.)
Now, I think I'm doing a good thing here...letting my boys bake.  All by themselves.  And this is what I get:
 "Can I go now?"
Good stuff, Mom!
 Oh sure, now he's interested!

Step 4:  Breathing has returned to normal.  Kids are happy with licking the beater.  Casually read next step to self; "To assemble the pies, turn half off the cookies bottom side up and spread a generous amount of cream cheese frosting on each one.  Top them with the remaining cookies (turned right side up)."  (The recipe says it makes 10 to 14.  We ended up with 20.  The ones they boys made were smaller than the ones I made.  I have to admit that I liked the small ones better.  These cookies are sooooo rich, one small cookie is more than enough.)
My #1 taste tester!

**Okay, I don't know about you but I hate having a bunch of containers of spices floating around in my cabinet...there are enough in there already!  So I decided, why do I keep pumpkin pie spice and baking powder on hand when I have separate containers of the ingredients used to make them?  Now I just make them as I need them.  An added bonus; I've noticed a difference in the texture and loft of my baked goods now that I make my baking powder fresh!

So here are the recipes I use:

To make 1 teaspoon of pumpkin pie spice:
1/2 teaspoon cinnamon
1/4 teaspoon ground ginger
1/8 teaspoon allspice or ground cloves
1/8 teaspoon ground nutmeg

To make 1 teaspoon baking powder:
1/4 teaspoon baking soda
5/8 teaspoon cream of tartar

I guess this recipe is a keeper!

And you know what?  We did have a good time.  In fact, I think we'll do something like this again!

Friday, November 19, 2010

Giving Thanks for the Little Surprises!

I have horrible sleeping patterns.  I get up at weird hours during the night.  This morning's wake up was at 3:55am.  This works out well for blogging, though.  At least I'm not up watching reruns of The Nanny or knitting another hat.

Well, this morning I had a wonderful surprise waiting for me in the kitchen!

I stumble in to make some of this:

(Sorry for the obnoxious flash!  Remember, it's 4 o'clock in the morning and the sun isn't out yet!)

And what I saw was this!


Aren't these the cutest things ever?!  I made them last night for Little Bits Kindergarten Thanksgiving Feast.  I didn't even take pictures along the way thinking these would turn out "okay" at best.  They're K'ers, they don't care about table decorations!  

But the results blew me away!

So here's a quick rundown of what I did.  It's super simple.

Supplies:
  • small pumpkins
  • Cricut personal cutting machine
  • a Paper Dolls Dress Up Cricut cartridge (thanks for letting me borrow this Kendra G!)
  • brown craft paper
  • markers
  • Mod Podge
  • foam brush
First I cut out the shapes I wanted using my Cricut and Paper Dolls cartridge.  They came out with some accent lines cut into the paper that were hard to see.  This is where the markers came into play.  I just used them to highlight where the cuts were (the musket and the hat were colored in completely).

Next I put down a layer of Mod Podge on the pumpkins using my foam brush.  Then I put my pictures on top and covered with another layer of Mod Podge.  I just used my fingers to smooth it down as much as possible.  Flat paper + round pumpkin = lots of bumps!  Mostly smooth is good enough (it feels very secure this morning).

Then I went to sleep and woke up to this wonderful surprise!


I also made some candy corn trees.  Just bigger versions of what Mitzi A did on her kids Thanksgiving table (see my post Home for the Holidays Part 1).  In fact, she gave me two of her little trees and two leftover bags of candy corn!  The pots I had out in the shed and the limbs I cut from the trees behind our church after work yesterday.  Total cost:  $0!


And I couldn't resist putting this in.  It's what my Little Bit is thankful for this year.

Ethan, Blair (two friends from school), Dad, Mom and Miss (his teacher).

Pardon me while I get a tissue! (sniff, sniff) 

I can hardly wait to give thanks with Little Bits class this morning!  I have so much to be thankful for!

"Thanks be to God for his indescribable gift!"
2 Corinthians 9:15

Have you given thanks to God today?

If you liked what you saw (and I really hope you did!), would you consider following me or leaving me a comment?  That would make me very happy!

Sunday, November 14, 2010

Home for the Holidays, Part Deux

Well, it's time for more "Home for the Holidays" tablescapes!  Let's get right to it, shall we?

This says it all, don't ya think?


This table was done by Ernestine L.  I love the height of her centerpiece.  I never know how to use these tall, skinny vases.  I'm afraid to "get big" at the top the way Ernestine did here.  Maybe I will call my Grandma and tell her I want that vase after all! ;)


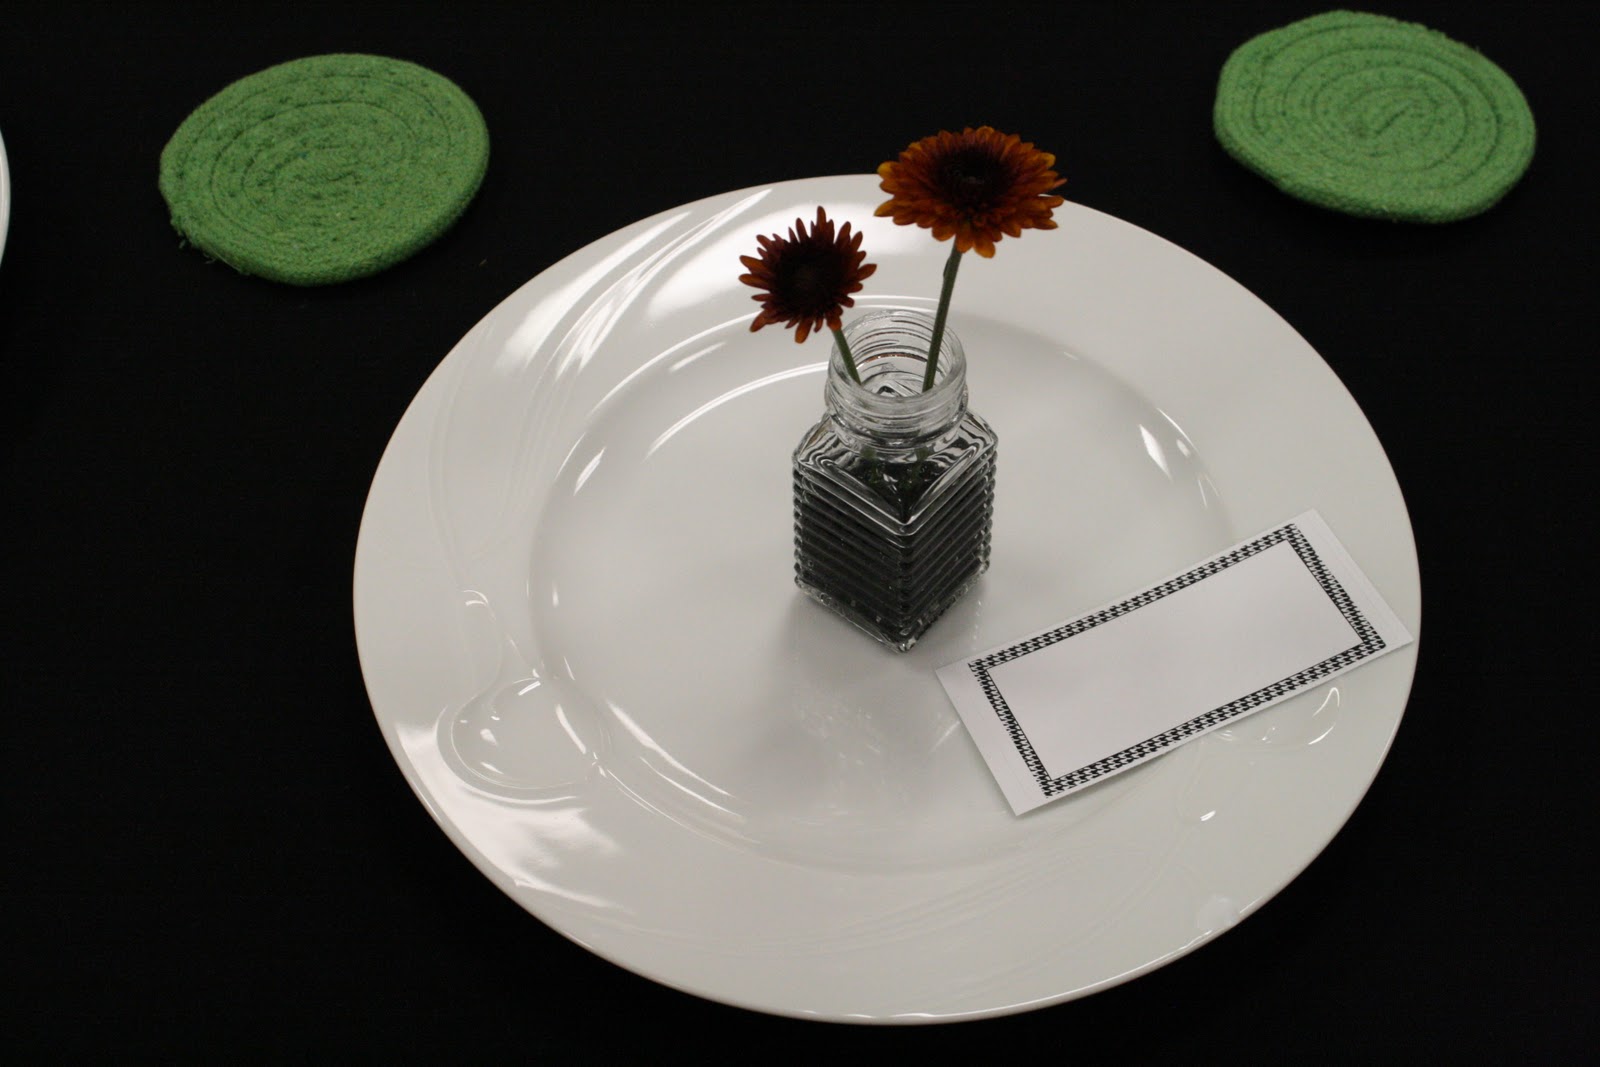
 Aren't these place cards sweet?  I'm "nuts" about them! :)


Can I just tell you how much I love the rhinestones in these pumpkins?  I never would have thought to do that!  And with the mirror and the many candles this center piece really sparkles when the lights go down!


Sweet simplicity would accurately describe this place setting.  And the contrast of it against the "bling" pumpkins...very nice!


This lovely tablescape was done by Harriett B and Patti W.  You could use this on an entry way table also.


This centerpiece has so many fun things tucked into the garland.  I'm wishing I had those antlers!  Hey, my husband is a hunter...why, don't I have some?


I like the idea of having some conversation starters at each place setting.


Need an idea for some easy and inexpensive place mats that are still cute?  Look no further!


I love the handwritten scripture on these cards.  There was one at each place setting and every one was different.


I'm not sure who decorated this table, but I want that iron pumpkin! And the berry garland.  And the glitter balls.  And the...


This table was decorated by Robyn C.  The pictures aren't as good as I would like.  They turned the lights down before I could get any pictures and I had to use my flash.


What a beautiful way to use a pumpkin!  It is setting on a twig wreath and those are real leaves.  All atop a  lovely mercury glass cake stand.  Remember ladies, cake stands are wonderful ways to elevate things other than cake!

This chocolate brown looks so nice.  Oh, great!  Now I'm thinking about chocolate!


This is the head table, decorated by Judy S.  She did such a wonderful job (as always)!  I mimicked an Easter table that she had done and loved it so much I left it all spring on my coffee table!


This is a mock dining table by Millie Fernald of Cobblestone Gifts & Interiors.


I like how she layered the tablecloths and wasn't afraid to use big, bold pumpkins and basket.  Even on this small table it looks fabulous!


Well, that's all of the Thanksgiving tables.  Hopefully you found something you could use on your own dining table this year!

One of the tips Millie Fernald gave to everyone was to use what you have.  Take a fresh look at the things you already have around the house.  Is there another way to use that lovely silver platter?  What about pulling out you grandmother's heirloom gravy boat and filling it with pine cones or unshelled nuts?  And compotes look good filled with anything!

And don't be afraid to bring the outdoors in.  We saw that in some of these tablescapes.  Do you have some potted herbs?  How about filling a beautiful vase with long twigs?  Around here we have a lot of Hedge Apple  trees and they produce these beautiful green hedge apples that are about the size of a softball or a grapefruit.  They really pop against all the browns, golds and reds of Fall!  And best of all you can find them for free up and down the country roads!


And my last tip from Millie is use lots of candles!  With the battery operated ones you can find everywhere now you can "burn" them without worry.  And best of all they look like real candles!  This is a great solution for someone who has pets or small children especially.

Be sure to come back and see the Christmas tables!


If you liked what you saw (and I really hope you did), would you consider following me or leaving a comment?  That would make me very happy!