Showing posts with label gift ideas. Show all posts

Sunday, December 19, 2010

BBQ Spice Rub

My youngest son is all about food!  I think he inherited this from me.  We wake up thinking about food and before we're finished eating breakfast, we're thinking about what's for lunch!  When he was only about three, he asked me if I would teach him how to make goulash when he grew up...already thinking about what he's going to eat when he goes off to college!

Well, he and I were discussing what we would eat on Christmas day and he suggested ribs.  Yummy!  My husband and I split duties when it comes to smoking meats.  I'm in charge of perfecting the "prep" and he's in charge of the smoke.

In my pursuit to find the perfect rub, this is what I ended up with.  This rub is so delicious, in fact, that I have quit using barbecue sauce all together (however, that is my next endeavor - homemade barbecue sauce)!  I found this recipe online but it's been a few years and I can't remember who it came from...sorry.

BBQ Rub
2 cups sugar
1/4 cup paprika
2 tsp chili powder
1/2 tsp cayenne
1/2 cup salt
2 tsp black pepper
1 tsp garlic powder

And that's it!  It really is fantastic!  So much better than anything you can buy in the store.  It will work on all kinds of meat, too.

And this would make a nice gift for the Grill Master in your life, also.  Be sure to include the recipe because once it's gone, they're gonna want some more!

Thursday, December 9, 2010

Ceramic Tile Dry Erase Board

Scripture memorization is a big thing in our house.  Both of my boys memorize bible verses for church on Wednesday nights and for school each week.  I needed a way to keep the assigned scripture for the week handy without having a piece of paper floating around on my kitchen counter (my kitchen now has twice as much counter space as my previous kitchen and I swear we could still fill up more!).

It needed to be easily accessible, it had to change weekly and it had to be nice looking.  Well, this is what I came up with and I really have enjoyed it.  And it was inexpensive, super simple to make and it took only minutes from start to finish.


I bought a 6x8 white ceramic tile from the hardware store (less than a dollar).  I decided I wanted to tie a ribbon at the top and chose to drill a couple holes with a masonry bit.  I just eyeballed the spacing.  You can tell I spent a lot of time making sure I got them level (my writing is as wonky as my "eyeballing"!).  It isn't noticeable once the ribbon is in.


Of course, you could skip this step and just hot glue the ribbon on but I wanted to impress my husband by asking (imagine serious tone, thoughtfully grasping chin and furrowed brow) "Do you think I should use a masonry bit to drill into this tile?"   I think he was pretty impressed!


Then I laced through some ribbon (this is just what I had on hand that would match the kitchen) and tied a bow.  I like that the ribbon softens it up a bit.  Then I cut a fleur de lis on some black vinyl with my Cricut (I love that darn machine!) and put it in the lower corner.


Next, I needed a way to display it.  I thought about hanging it but decided to keep it on the counter instead.  This way I can lay the tile flat to write on it.  I had some of these picture holder thingies (for the life of me I can't think of what these are called!) and decided this would make a great stand (and it keeps the marker handy, too!).


Now if I were going to give this as a gift, I would take the time to cover the back of the tile with some coordinating felt.  But it's just us and I'm the only one who writes on it (maybe it's a little too "femmed up" with the leopard bow and fleur de lis for the guys!).  We keep it in the kitchen on the counter and the boys and I go over their verses while they eat breakfast and I gulp sip my coffee in the morning.  It's a great way to start the day!


We use ours for scripture, but you could also use it for honey-dos, love notes to your hubby, jot down notes by the phone...lots of things,really!

Wednesday, December 8, 2010

Christmas Gift Ideas from I Heart Naptime and Under The Table and Dreaming

While making my rounds on my favorite blogs I've come across some really fantastic gift ideas.  My list of "Things to Copy" is long but here are a couple that I've done over the last few of days.

Thinking of all the people on my gift list this year, I decided to start with these clever "presents".  The idea came from Jamielyn at I Heart Naptime.  She made some for Fall/Thanksgiving and some for Christmas.  They are irresistibly cute!  I decided to make these for my volunteer teachers at church on Wednesday night.  I needed 10 gifts that were gender neutral, had no food allergens and were inexpensive.  These Christmas blocks were exactly what I was looking for!
I just used some old 4x4 scraps that we had leftover from a fence building project, some paint leftover from painting our shed, some vinyl I already had and some ribbon I had scraped from other projects.  As you can see, the price was right!  And I was very pleased with the results!

I loved them so much, I went out and bought another 4x4 to make some more (some for gifts, some for me!)!

To find out how to make your own, all you have to do is head over to I Heart Naptime!  But before you go, check out this other fantastic gift!

My second list of people to gift were my boys' teachers.  I could go all feminine here!  Something I would love to have.  We'll, I totally found the answer from Stephanie Lynn at Under The Table and Dreaming!  Her Pumpkin Spice Sugar Scrub is exactly what I was looking for!  The Pumpkin Spice fragrance is good for the winter time and she also has recipes for a couple of other fragrances!
 I decided to dress my jars up with some homemade "cinnamon men" (instead of gingerbread men) made with some cinnamon dough.  There are a ton of recipes on the web for this.

All you have to do is visit Under The Table and Dreaming to get the recipe!  Stephanie Lynn also offers printable labels to go with her amazing scrub!  How sweet is that?  Be sure to keep some for yourself (I sure did)!

(Now, if your one of the boys' teachers, please act surprised when you get this!)

Be sure to check out both of these wonderful women's blogs.  They are loaded with great ideas!  Then you will see why my list of "Things to Copy" gets longer every time I log onto the internet!

Monday, December 6, 2010

Christmas Pictures As Gifts

Here are some of my favorite pictures we've taken of the kids over the years at Christmas time.  Some of these were framed and given as gifts to grandparents.  Always a popular gift in our family!

This is my first born's first Christmas.  We didn't have cable and were broke but we did have a digital camera!  I spent my days dressing him up and taking pictures...all day.  I have it sitting out year round and he's 8 years old now!

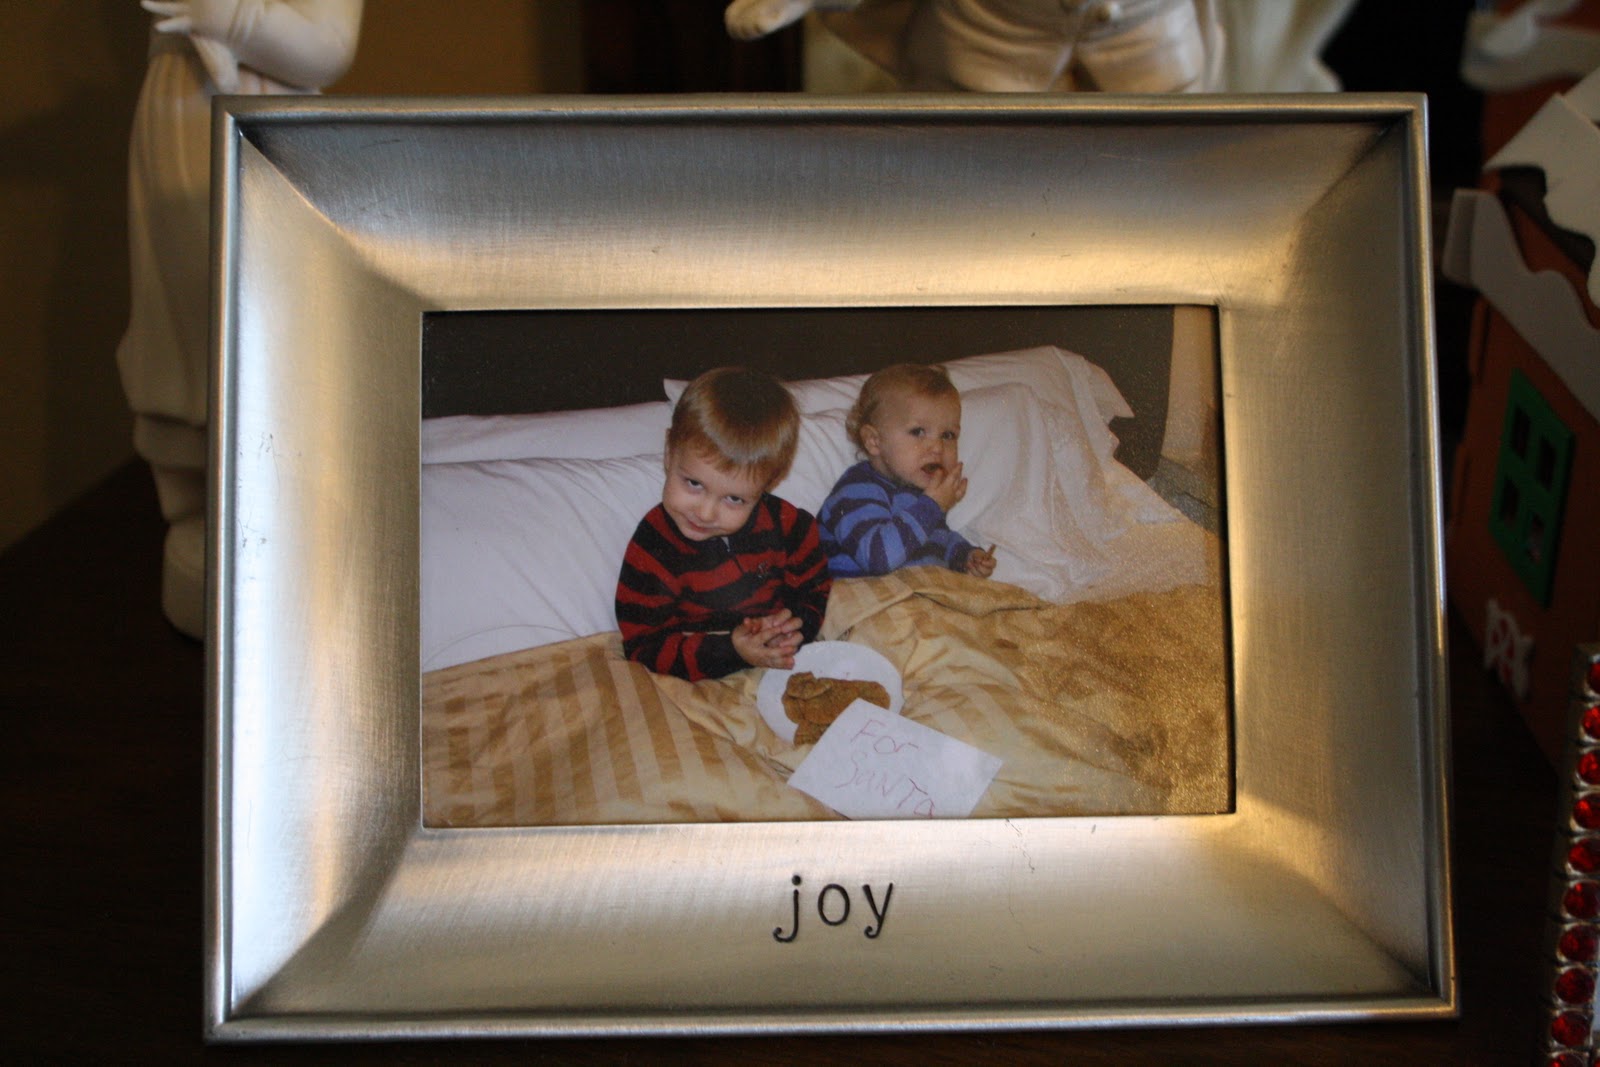
This is the first picture Christmas card we sent out.  It took us about thirty tries to get this one picture but it was so worth it.  The looks on their faces tell you exactly what their personalities are!  This one sets out year 'round, too!
(the scribbled note reads "For Santa")

These are ones they took during Sunday School at church and sent home with the kids.  I love my little Joseph!  This was such a great idea that I implemented it in my AWANA Cubbies "Noel Night!"
 The parents love it!  Every girl gets to be Mary and every boy gets to be Joseph.  I have a sweet friend who is a photographer and she volunteers to bring her gear up and takes the most amazing photos of the kids.  Thanks, Mitzi!

And finally.  I have a December birthday and this sweet picture is what my boys gave me last year.  The black nose was Little Bit's idea.  My husband said he came out of the bathroom with a marker looking like this!

Hopefully you can use some of these ideas with your own kiddos or maybe nieces and nephews (take it from a parent...we would love to get cute pics of our kids for a Christmas gift!)

Merry Christmas!

Friday, December 3, 2010

Christmas Crafts To Do With Your Kids

Christmas break is coming for the kiddos and you know what that means!  "Mom, I'm bored!"

Well, fret no more, mom friends!  Here are some crafts that the kids will enjoy making and you will cherish for years to come.  These would be appropriate for preschoolers on up.  The supplies are easy to find, too.

This first one requires construction (or colored) paper, google eyes and a red pompom.
(Sorry this picture isn't so great.  I moved it all over the house but the glass reflects everything!  This is as good as it gets!)
Trace your child's foot on brown paper and each hand on black paper.  Cut out and assemble into the shape of a reindeer.  Next attach google eyes and a red pompom for the nose.  Your done!  I pasted this one on another piece of colored paper and mounted it in a shadow box frame.  I hang it every Christmas!

Here's a cute Christmas ornament!  You'll need a candy cane, a star, some moss, cotton, a wooden bead and a paper clip for hanging.

Turn the candy cane upside down and glue on some moss then some cotton.  Draw a face on the wooden bead and glue to the cotton.  Finally glue the star on top (you can embellish with glitter if you have some) and attach an opened paper clip for hanging.

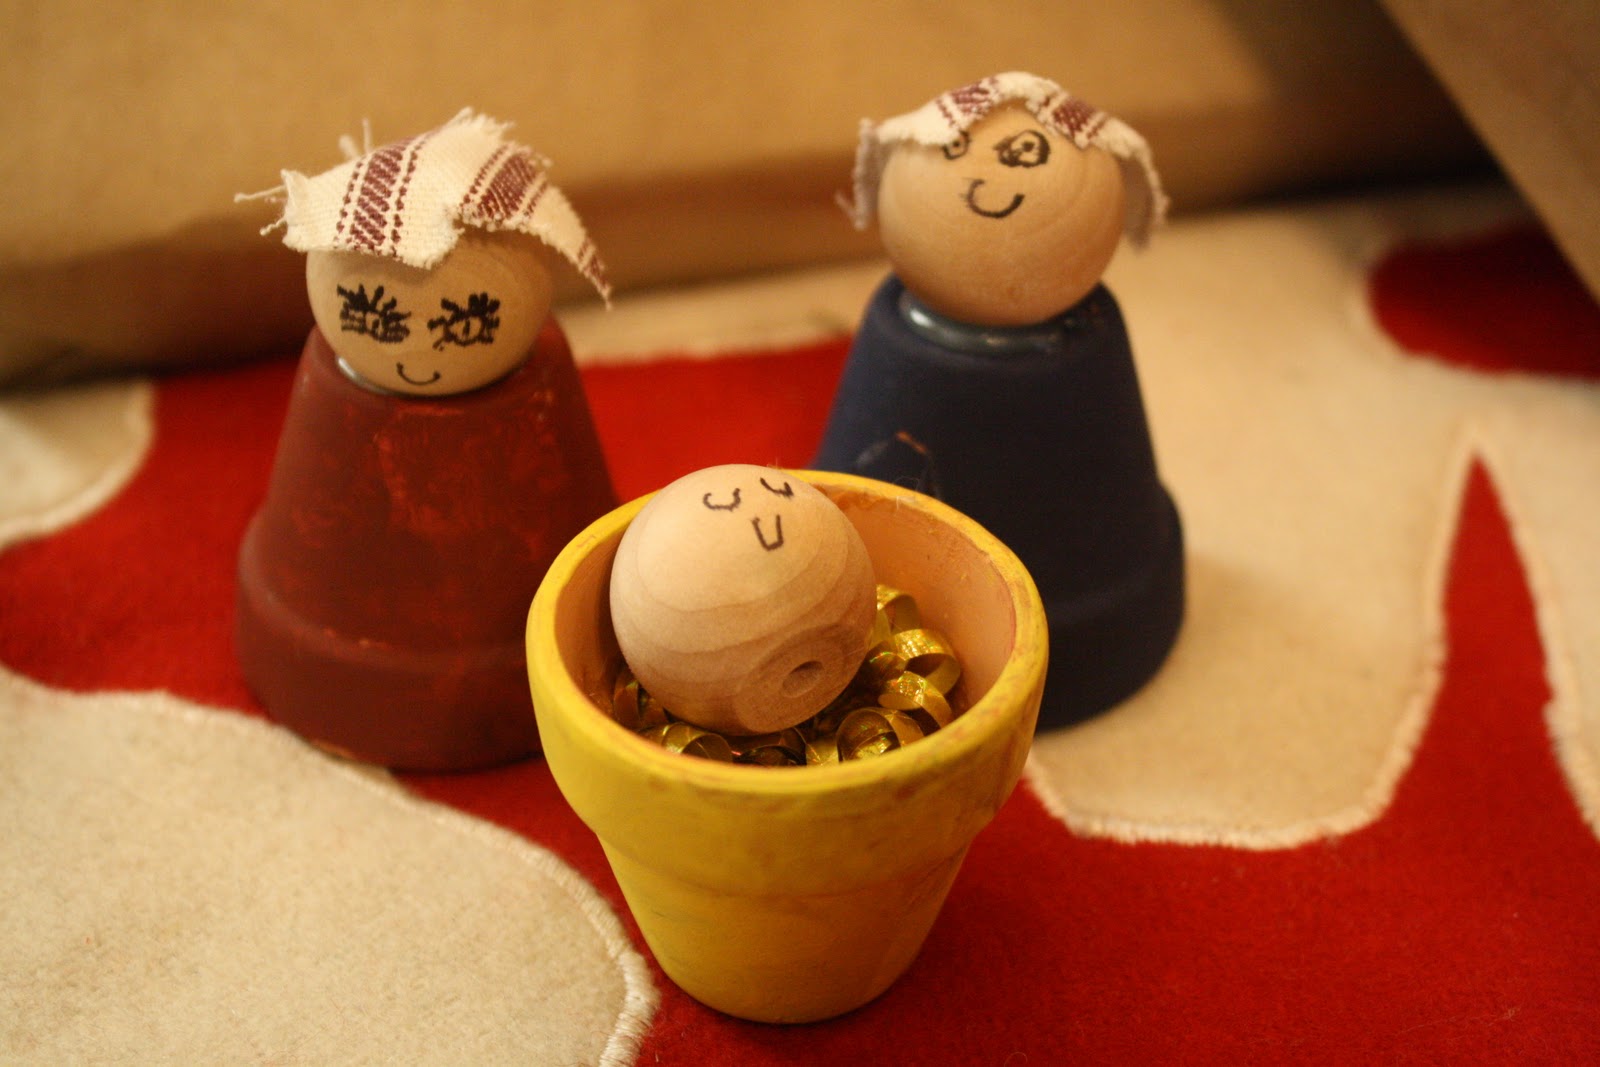
Finally, here is a sweet nativity.  You'll need three small flower pots, three wooden beads, a small amount of moss (or shredded paper), small scraps of fabric and craft paint.

Paint all three flower pots (we used a navy, a brick red and a gold color).  Draw faces on the three beads.  Next hot glue Mary and Joseph's heads to the bottom of two of the pots and glue small scraps of fabric to their heads.  Take the third flower pot and put some moss in the bottom then glue the head to the inside of the pot.  This is your baby Jesus.

We made a set of these for all the grandparents and great-grandparents in our family.  They loved them!

I hope these ideas inspire you and help you keep your sanity during the extended break!

I shared these ideas at Tatertots and Jello!
And Funky Junk Interiors!
And A Little Lovely!
And Be Different...Act Normal!
And Under The Table and Dreaming!
And Blissful and Domestic

Tuesday, November 30, 2010

Framed Hand Prints

Here is an idea that I first used when my youngest was just a baby.

Newlywed (not quite year and a half) and new parents (4 months) we were pretty stinkin' broke!  I wanted a special Valentine's gift for my sweet hubby since he continued to love me despite my tremendous weight gain during my pregnancy (seriously folks, I was huge!)

Any way, this is what I came up with.
(Yes, I know there is no apostrophe in "Spaenys" - I'll get around to changing it one day)

Then, after our second one was born I decided it was time to do another one. 
(Yes, I realize I put an apostrophe in "Spaenys" again.  You try nursing two boys for a combined 2 1/2+ years and see how much brain you have left!  I'll get around to changing this one, too.)

All you need is some coordinating scrapbook paper, a pair of scissors, a frame and a paint pen to improperly write your family name and the holiday.

*Just a little hint, if you are right handed, trace everyones left hand.  It's easier to do your own hand that way.

And here I am close to delivery day!
I told you I was huge!  Can you believe how smokin' hot my husband is?  Yea, ladies, he's all mine!  This was us on Ty England's tour bus (our next-door neighbor was his Road Manager).

I've linked this idea at Tatertots and Jello!
And A Little Lovely!
And Be Different...Act Normal!
And Under The Table and Dreaming!