Well, I
I headed out to the shed and found some scrap pieces I thought would work. They aren't quite the size I was wanting but I figured smaller would be easier to work with (since I'm doing this by myself). I needed slats for the sides and some pieces for the legs.
I was in the driveway cutting wood when the "bug guy" showed up to spray the house. He was probably afraid to leave...afraid I was going to cut my leg off and no one would be here to help.
Now, how does someone build a manger? This I do not know. But I figure I'm a smart gal, I can figure it out! Well, I guess I can. Eventually.
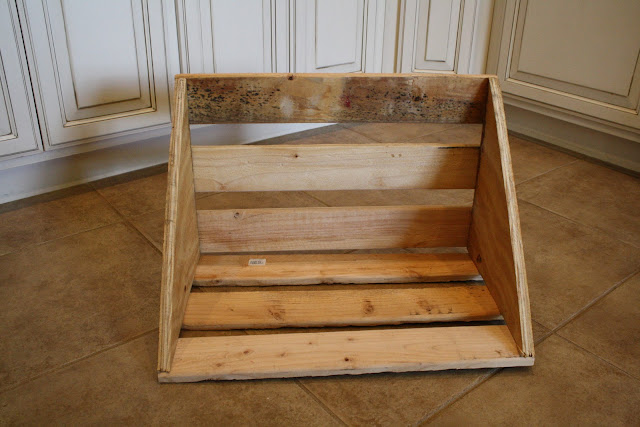
This is what I came up with initially.
Great looking except for one thing...what do I do for legs? Hmm. Hadn't thought of that. Disassemble. Back to square one.
Now I'm thinking I need to work the legs into the top some how. Make it all one piece. So this is what I decided to do.
I took an old section of fence and ripped the pickets off. Four pickets, four legs. Then I cut the tops off. Next I laid one on its side and lined three slats up from the top down. I just eyeballed the space in between but would recommend measuring. The next one my husband makes, I will measure. I think it will help ensure that it's mostly level that way. Then I attached another leg to the other end of the slats. I repeated this process (be sure to pre-drill your nail holes).
Now I have two sections that I can overlap and make into an "X" shape. Looks like a manger and it has legs! I positioned them at a 45 degree angle and inserted two screws where they overlap (on each side). The two screws lock it into position (just one and it would open and close too easily). Screws allow me to disassemble the manger and store it flat for next year. Plus all the nails I could scrounge up were too long. Remember, I'm working with what I've already got!
It's not at all fancy but I figure it is authentic. What is a manger, after all, but a place to hold hay? This one will do just that. I'll borrow some fresh straw from the chickens...baby Jesus needs a soft place to lay!
The dimensions ended up being about 2 ft x 2 ft. Now my husband has an idea of how to build the big one I'm wanting for the front yard. This one will just go in the flower bed for now and can be moved indoors when Manger #2 comes along!
He came home about the time I was finishing up and literally cringed at the sight of me using his power tools. That'll teach him to put me off!
Sharing this idea at these other wonderful blogs:
Please stop by and visit them to find other amazing ideas!


you are too funny ...
ReplyDeletenice work dahling!
Wow!! I'm impressed! Love it. ;)
ReplyDeleteUm..I don't need a manger this year...but I sure need a magazine rack! :p And I have a ton of perfect scrap wood for it out back. lol Awesome tut! :D
ReplyDelete