Showing posts with label Christmas. Show all posts

Wednesday, December 22, 2010

Christmas Kit

If you have kids then you know how important it is to get all those new Christmas toys up and running as quickly as possible on Christmas morning!

Well, my obsessive-compulsive need to be completely prepared led me to this idea our first Christmas with a little one.  A Christmas Kit!

I just used a plastic container large enough to hold everything (it may have even had a former life as a lunchmeat container).  Then I filled it with all the things I thought we might need.

Here is a list of what I came up with:

  • pocket knife (how many times have you cut your finger on the shirt box trying to break the tape?)
  • batteries (check what batteries you will need when you purchase the toy...and buy extras!)
  • screwdriver (phillips and flat head)
  • wire cutters ("Wire cutters?" you may ask.  But have you seen the way they attach toys to the packaging nowadays?  With either black box quality zip ties or twist ties that are so wound around the toy you need to be a rocket scientist to sort it all out!  And scissors just won't "cut" it!  Plus it dulls them.  Just pull out the wire cutters and give them the "what for"!!)

This is what our kit looks like:

We just have the four of us on Christmas morning and usually the only gifts are ones from each other or from my grandmother.  Consequently it's easy to keep up with who gave what.  But if you have a big Christmas shindig, a notepad and pencil for writing down who gave what (for thank you notes later) is a good idea.

Something else I do is keep all the kid's owners manuals (for their toys, not the kids themselves!) together in a separate file.  To do this I just slide them in a gallon sized zip top baggie and drop them in a hanging file in our file cabinet.  Then if you need to refer back you just grab the one with all the kid stuff!

Hopefully this helps keep the Christmas cheer going on Christmas morn for you and yours!

Friday, December 17, 2010

Jesus' Birthday Party

Yesterday was the last day of school for my kids.  Yippee!

It was also their Happy Birthday, Jesus! party.  This is such a sweet celebration.  The entire elementary school meets in Fellowship Hall.  Each class has a birthday cake, scripture is read, carols are sung and the principal tells a story about the different symbols of Christmas.  We end by singing Happy Birthday, Jesus and going off to our individual classrooms.  Truly a sight to behold

Let's start with Jesus' birthday cake.  There is significant symbolism involved in it.  We started this tradition with our boys when they were little (well, they're still little - only 6 and 8!) and it now continues at their school. First you bake a chocolate cake.  The dark cake represents our sin.  Then you frost it with white icing.  This represents the cleansing of sin through Jesus on the cross.  Then we place red M&Ms on top in the shape of a cross representing His death and resurrection.


The cake is a bit "homemade" looking.  Not all fancy, like a store bought cake.  But I labored over it non-the-less!  In fact the morning of the party, I'm driving the boys to school with the cake sitting on the armrest in the middle of the front seat.  I stop at the stoplight and one of the boys backpacks falls forward and hits the armrest.  I plainly told the boys (as calmly as I could) that heads would role if they messed up the cake!  Oops!  Sorry Jesus.  Sorta lost sight of what we're celebrating!  But it's okay...I'm back on track now!

Next, the teachers take turns reading the Christmas story from the Bible.  Luke 2:1-20, Matthew 2:1-2 and Matthew 2:9-11.

Then the principal tells a story similar to this one.

Finally we light the birthday candle and sing Happy Birthday, Jesus.


If you've never heard this song before, you're in for a real treat.  It chokes me up every time.  Now imagine Pre-K through 5th grade kids singing this in a darkened room lit only by the candles on Jesus' birthday cake!  Grab some tissues and press play.

This is such a wonderful tradition that really puts Christmas in the right perspective.

Here's wishing you and yours a blessed, Christ-centered Christmas!

Monday, December 13, 2010

The Making of a Christmas Manger

For three years now, I've asked my husband to make me a manger.  I want a big one to put outside during Christmas.  I know he can do it.  Four years ago he made me a giant red sleigh.  I loved it!  But it was so big that you had to disassemble it to put it away every year and the screw holes had started to strip out.  This year he said "no red sleigh."  So where is my manger?

Well, I don't try not to nag and I know there are other projects he would rather be working on.  So this morning after I dropped the boys off at school I decided to make my own manger.  Now, I'm good at a lot of things...but apparently wood working is not one of them!

I headed out to the shed and found some scrap pieces I thought would work.  They aren't quite the size I was wanting but I figured smaller would be easier to work with (since I'm doing this by myself).  I needed slats for the sides and some pieces for the legs.
I was in the driveway cutting wood when the "bug guy" showed up to spray the house.  He was probably afraid to leave...afraid I was going to cut my leg off and no one would be here to help.

Now, how does someone build a manger?  This I do not know.  But I figure I'm a smart gal, I can figure it out!  Well, I guess I can.  Eventually.

This is what I came up with initially.
Great looking except for one thing...what do I do for legs?  Hmm.  Hadn't thought of that.  Disassemble.  Back to square one.

Now I'm thinking I need to work the legs into the top some how.  Make it all one piece.  So this is what I decided to do.
I took an old section of fence and ripped the pickets off.  Four pickets, four legs.  Then I cut the tops off.  Next I laid one on its side and lined three slats up from the top down.  I just eyeballed the space in between but would recommend measuring.  The next one my husband makes, I will measure.  I think it will help ensure that it's mostly level that way.  Then I attached another leg to the other end of the slats.  I repeated this process (be sure to pre-drill your nail holes).
Now I have two sections that I can overlap and make into an "X" shape.  Looks like a manger and it has legs!  I positioned them at a 45 degree angle and inserted two screws where they overlap (on each side).  The two screws lock it into position (just one and it would open and close too easily).  Screws allow me to disassemble the manger and store it flat for next year.  Plus all the nails I could scrounge up were too long.  Remember, I'm working with what I've already got!
It's not at all fancy but I figure it is authentic.  What is a manger, after all, but a place to hold hay?  This one will do just that.  I'll borrow some fresh straw from the chickens...baby Jesus needs a soft place to lay!

The dimensions ended up being about 2 ft x 2 ft.  Now my husband has an idea of how to build the big one I'm wanting for the front yard.  This one will just go in the flower bed for now and can be moved indoors when Manger #2 comes along!

He came home about the time I was finishing up and literally cringed at the sight of me using his power tools.  That'll teach him to put me off!

Sharing this idea at these other wonderful blogs:
Please stop by and visit them to find other amazing ideas!

Wednesday, December 8, 2010

Christmas Gift Ideas from I Heart Naptime and Under The Table and Dreaming

While making my rounds on my favorite blogs I've come across some really fantastic gift ideas.  My list of "Things to Copy" is long but here are a couple that I've done over the last few of days.

Thinking of all the people on my gift list this year, I decided to start with these clever "presents".  The idea came from Jamielyn at I Heart Naptime.  She made some for Fall/Thanksgiving and some for Christmas.  They are irresistibly cute!  I decided to make these for my volunteer teachers at church on Wednesday night.  I needed 10 gifts that were gender neutral, had no food allergens and were inexpensive.  These Christmas blocks were exactly what I was looking for!
I just used some old 4x4 scraps that we had leftover from a fence building project, some paint leftover from painting our shed, some vinyl I already had and some ribbon I had scraped from other projects.  As you can see, the price was right!  And I was very pleased with the results!

I loved them so much, I went out and bought another 4x4 to make some more (some for gifts, some for me!)!

To find out how to make your own, all you have to do is head over to I Heart Naptime!  But before you go, check out this other fantastic gift!

My second list of people to gift were my boys' teachers.  I could go all feminine here!  Something I would love to have.  We'll, I totally found the answer from Stephanie Lynn at Under The Table and Dreaming!  Her Pumpkin Spice Sugar Scrub is exactly what I was looking for!  The Pumpkin Spice fragrance is good for the winter time and she also has recipes for a couple of other fragrances!
 I decided to dress my jars up with some homemade "cinnamon men" (instead of gingerbread men) made with some cinnamon dough.  There are a ton of recipes on the web for this.

All you have to do is visit Under The Table and Dreaming to get the recipe!  Stephanie Lynn also offers printable labels to go with her amazing scrub!  How sweet is that?  Be sure to keep some for yourself (I sure did)!

(Now, if your one of the boys' teachers, please act surprised when you get this!)

Be sure to check out both of these wonderful women's blogs.  They are loaded with great ideas!  Then you will see why my list of "Things to Copy" gets longer every time I log onto the internet!

Monday, December 6, 2010

Christmas Pictures As Gifts

Here are some of my favorite pictures we've taken of the kids over the years at Christmas time.  Some of these were framed and given as gifts to grandparents.  Always a popular gift in our family!

This is my first born's first Christmas.  We didn't have cable and were broke but we did have a digital camera!  I spent my days dressing him up and taking pictures...all day.  I have it sitting out year round and he's 8 years old now!

This is the first picture Christmas card we sent out.  It took us about thirty tries to get this one picture but it was so worth it.  The looks on their faces tell you exactly what their personalities are!  This one sets out year 'round, too!
(the scribbled note reads "For Santa")

These are ones they took during Sunday School at church and sent home with the kids.  I love my little Joseph!  This was such a great idea that I implemented it in my AWANA Cubbies "Noel Night!"
 The parents love it!  Every girl gets to be Mary and every boy gets to be Joseph.  I have a sweet friend who is a photographer and she volunteers to bring her gear up and takes the most amazing photos of the kids.  Thanks, Mitzi!

And finally.  I have a December birthday and this sweet picture is what my boys gave me last year.  The black nose was Little Bit's idea.  My husband said he came out of the bathroom with a marker looking like this!

Hopefully you can use some of these ideas with your own kiddos or maybe nieces and nephews (take it from a parent...we would love to get cute pics of our kids for a Christmas gift!)

Merry Christmas!

Friday, December 3, 2010

Christmas Crafts To Do With Your Kids

Christmas break is coming for the kiddos and you know what that means!  "Mom, I'm bored!"

Well, fret no more, mom friends!  Here are some crafts that the kids will enjoy making and you will cherish for years to come.  These would be appropriate for preschoolers on up.  The supplies are easy to find, too.

This first one requires construction (or colored) paper, google eyes and a red pompom.
(Sorry this picture isn't so great.  I moved it all over the house but the glass reflects everything!  This is as good as it gets!)
Trace your child's foot on brown paper and each hand on black paper.  Cut out and assemble into the shape of a reindeer.  Next attach google eyes and a red pompom for the nose.  Your done!  I pasted this one on another piece of colored paper and mounted it in a shadow box frame.  I hang it every Christmas!

Here's a cute Christmas ornament!  You'll need a candy cane, a star, some moss, cotton, a wooden bead and a paper clip for hanging.

Turn the candy cane upside down and glue on some moss then some cotton.  Draw a face on the wooden bead and glue to the cotton.  Finally glue the star on top (you can embellish with glitter if you have some) and attach an opened paper clip for hanging.

Finally, here is a sweet nativity.  You'll need three small flower pots, three wooden beads, a small amount of moss (or shredded paper), small scraps of fabric and craft paint.

Paint all three flower pots (we used a navy, a brick red and a gold color).  Draw faces on the three beads.  Next hot glue Mary and Joseph's heads to the bottom of two of the pots and glue small scraps of fabric to their heads.  Take the third flower pot and put some moss in the bottom then glue the head to the inside of the pot.  This is your baby Jesus.

We made a set of these for all the grandparents and great-grandparents in our family.  They loved them!

I hope these ideas inspire you and help you keep your sanity during the extended break!

I shared these ideas at Tatertots and Jello!
And Funky Junk Interiors!
And A Little Lovely!
And Be Different...Act Normal!
And Under The Table and Dreaming!
And Blissful and Domestic

Tuesday, November 30, 2010

Christmas Mantel

Christmas means stockings and stockings love a mantel.


This is the first house where we've actually had a mantel to hang stockings from!  In fact, I might go so far as to say we bought this house because of the beautiful fireplace.  So what a perfect place to start with Christmas decorating!


Some of the decor is new and some are hand-me-down family heirlooms.  The "HoHoHo" sign I bought at Hancock Fabrics about four years ago for half price.  It was so cute I couldn't resist it.  Little Bit thinks it would be hilarious to turn it around backwards so it would read "oHoHoH"!


The beautiful wreath I bought at Hobby Lobby three years ago.  I got it for half price but it was still a splurge at $50.  I love it, though and it was worth every penny.  It needed to be big to fill this space (from mantel to ceiling is a good 4 1/2 ft) and the white flocking really pops on the black background.


The metal initial I bought at Dillard's three years ago.  I don't remember what I paid for it but I probably got it on sale (knowing me).  Unfortunately it's been knocked over a couple dozen times and has a dent but I love it anyway.


The candlesticks I got from my grandmother many years ago.  I not a big fan of brass and she's not a big fan of "defacing" brass with spray paint so they stayed they way they are.  I have to admit, I kinda like them being brass.  It makes them feel old to me.  And the candle rings I made myself (see the tutorial here).


Down on the hearth is an old sewing basket that my grandma gave me.  I filled it with cheap garland doubled over (to make it a little fuller) and lots of picks of holly.  Both of which I've had for so long I can't even remember where I got them.


Any way, that's my fireplace and mantel.  Just two stockings for my two little men.  One of these days I'm going to get around to making new ones for all four of us!


Saturday, November 27, 2010

Floral Pick Candle Ring

About three years ago I went in search of a candle ring.  Unfortunately, I knew exactly what I wanted.  I say "unfortunately" because every time I know exactly what I want, I can't find it...does this happen to you?

Anyway, not only could I not find what I wanted, candle rings were expensive, to boot!  Have you priced them lately?

Once I realized I was never going to find what I wanted the gears starting turning.  I picked up a candle ring and took a look.  "I could make one of these," I thought.  So I walked over to the aisle with all the Christmas floral picks and started looking.  I found what I needed!

These candle rings are super easy and you will love the results!  The possibilities are endless!

Here's what you will need:
floral picks 
(How many will depend on the type of pick and the size of your candle.
I used 4 here.  Half price at Hobby Lobby!)
30 gauge wire
wire cutters

Now, start curving your picks to the shape of your candle.

Then, begin wiring them together by wrapping the wire around two pieces at a time, like this.  Continue in this fashion until you have wired all your picks on and they will make a circle big enough to fit around your candle.
 Gloves would be a good idea here.  It hurts like the dickens when you poke yourself with this wire...not to mention, you bleed like crazy!  I wouldn't know anything about this, but I've heard it happens.  (Yea, right!)

Here are all four of mine wired together.  Now it's time to connect them to make a ring.  Be sure to measure around the base of your candle at this point to make sure it will fit!

Here are mine all connected.
You could, of course, wrap these with floral tape now that you are finished, but it's not necessary.  No one will see this.

Now all you have to do is "fluff" your picks!

This is the first set I made.

And here are the ones I made today.  Easy peasy, mac & cheesy!

Total cost for 1 candle ring:  $1.98!  Gotta love that!

I'm sharing at Under the Table and Dreaming!

Monday, November 22, 2010

Christmas Card Display

Here is an easy and inexpensive way to display all those Christmas cards you get each year.  I wish I could say I came up with this all by myself but I actually got this idea from a friend.  It's very clever!  You use your kitchen cabinets!

Here are my kitchen cabinets.

Here are the supplies you'll need:
packing tape
wide ribbon
Easy enough, right?

Now, just cut your ribbon long enough to wrap from the top (inside) of your cabinet around the outside and back up the bottom (inside) and tape into place.

And that's all there is to it!

Just use clothespins to attach the Christmas cards as they come in!

If you wanted you could decoupage or paint the clothespins to coordinate.

You can also use this idea for everyday, too.

Now, bring on the Christmas cards!

Tuesday, November 16, 2010

Home for the Holidays, Part 3 - The Christmas Edition!

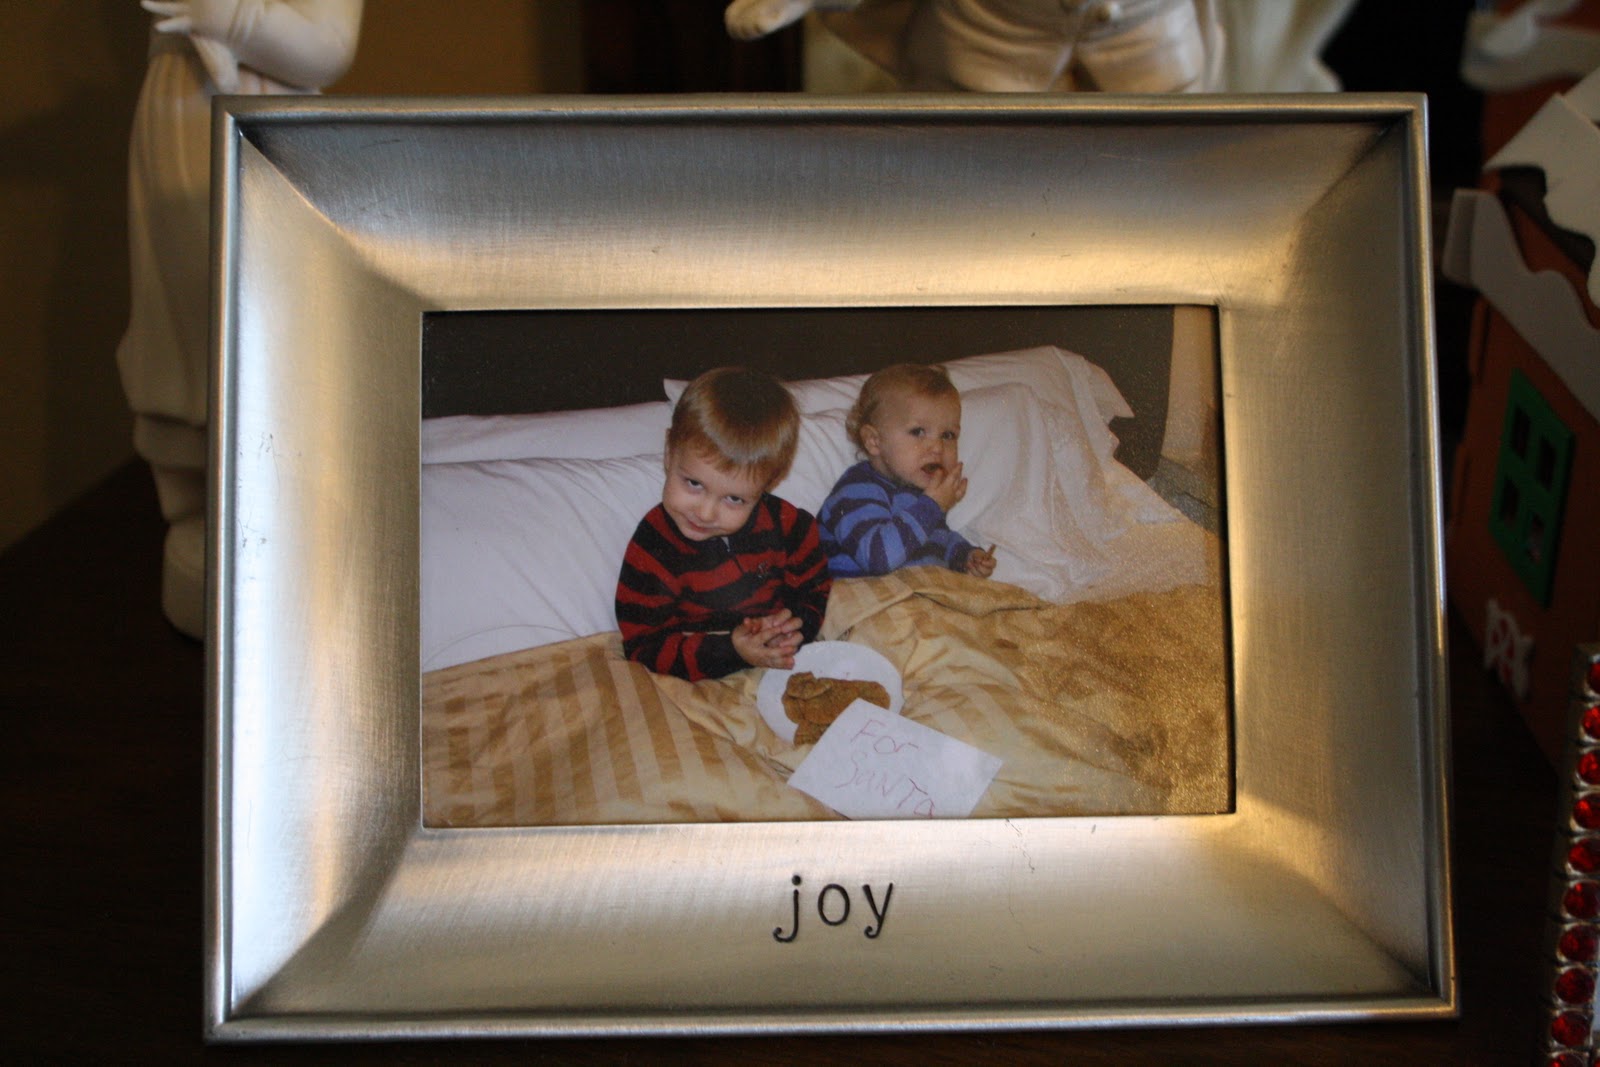
I know Thanksgiving isn't even here yet but I am so revved up for Christmas!  I'm abusing using my obligation as a blogger to put my Christmas decorations up early!  You need some ideas, right?

Well here are some ideas for tablescapes!

This knockout table was done by the lovely Kendra G.  Now this is hot pink!  Who says Christmas has to be red and green?  I love it!


This is Kendra G's other table.  Kendra is crazy for the Peanuts Gang!  I love the "cartoonish" snow and she even used Linus' blanket at the bottom of the tree!  Too cute!


Here is another pink table!  I love the way it mimics a snowy mountain top.

Aren't these beautiful pieces?  Very retro!


Remember Mitzi A who did the kids Thanksgiving table?  Well, this is her Christmas table.  FUN-ky!  Again, more pink!

Mitzi has a half bath she re-did this summer in turquoise.  She told me after the party, she will take apart this centerpiece to make a wreath to go in her bathroom.  How clever!

These napkins can be used any time of the year!  


This table has a more traditional color scheme.

Here some complimentary ornaments are stacked in a large hurricane.  I think a hurricane (or even a cloche) is one of those things every house needs.  You can get so much mileage from them year round.

Aren't these the most perfect roses you've ever seen?  Roses in a silver julep cup really ratchets up the sophistication of this table.

Aren't you in love with this mercury glass candle holder!  Mercury glass is a hot trend this year.  It's all over the Pottery Barn website.


A very formal but welcoming feel.


What is Christmas without a little gingerbread?  I love how this whole table is all about baking.  See the mixing bowl in the middle?  And those cute gingerbread men greeting you outside their sweet little houses!  I think I'll go preheat the oven!

Okay, I'm back.  Hot cider, anyone?

What a clever idea for a napkin ring...a cookie cutter!  Yeah, I'm definitely hungry now.


This is a beautiful place setting!  It's called Cuthbertson Original Christmas Tree.  I especially like the sweet little holly berry napkins.

Notice the porcelain dear in this picture.  I think he's a nice compliment to the Christmas Tree place settings.  Santa's gotta have his reindeer!


I love this table!  The sweet church in the middle with the beautiful trees around it...it feels so nostalgic.  Or maybe that just me, because the china pattern she used here is my mother's china pattern!  It's Noritake Ranier and it goes with everything!

Now check out these trees.  I think these could be made by using cone-shaped Styrofoam forms and gluing on cabochons.  A variety of sizes of these on a mantel would look nice.


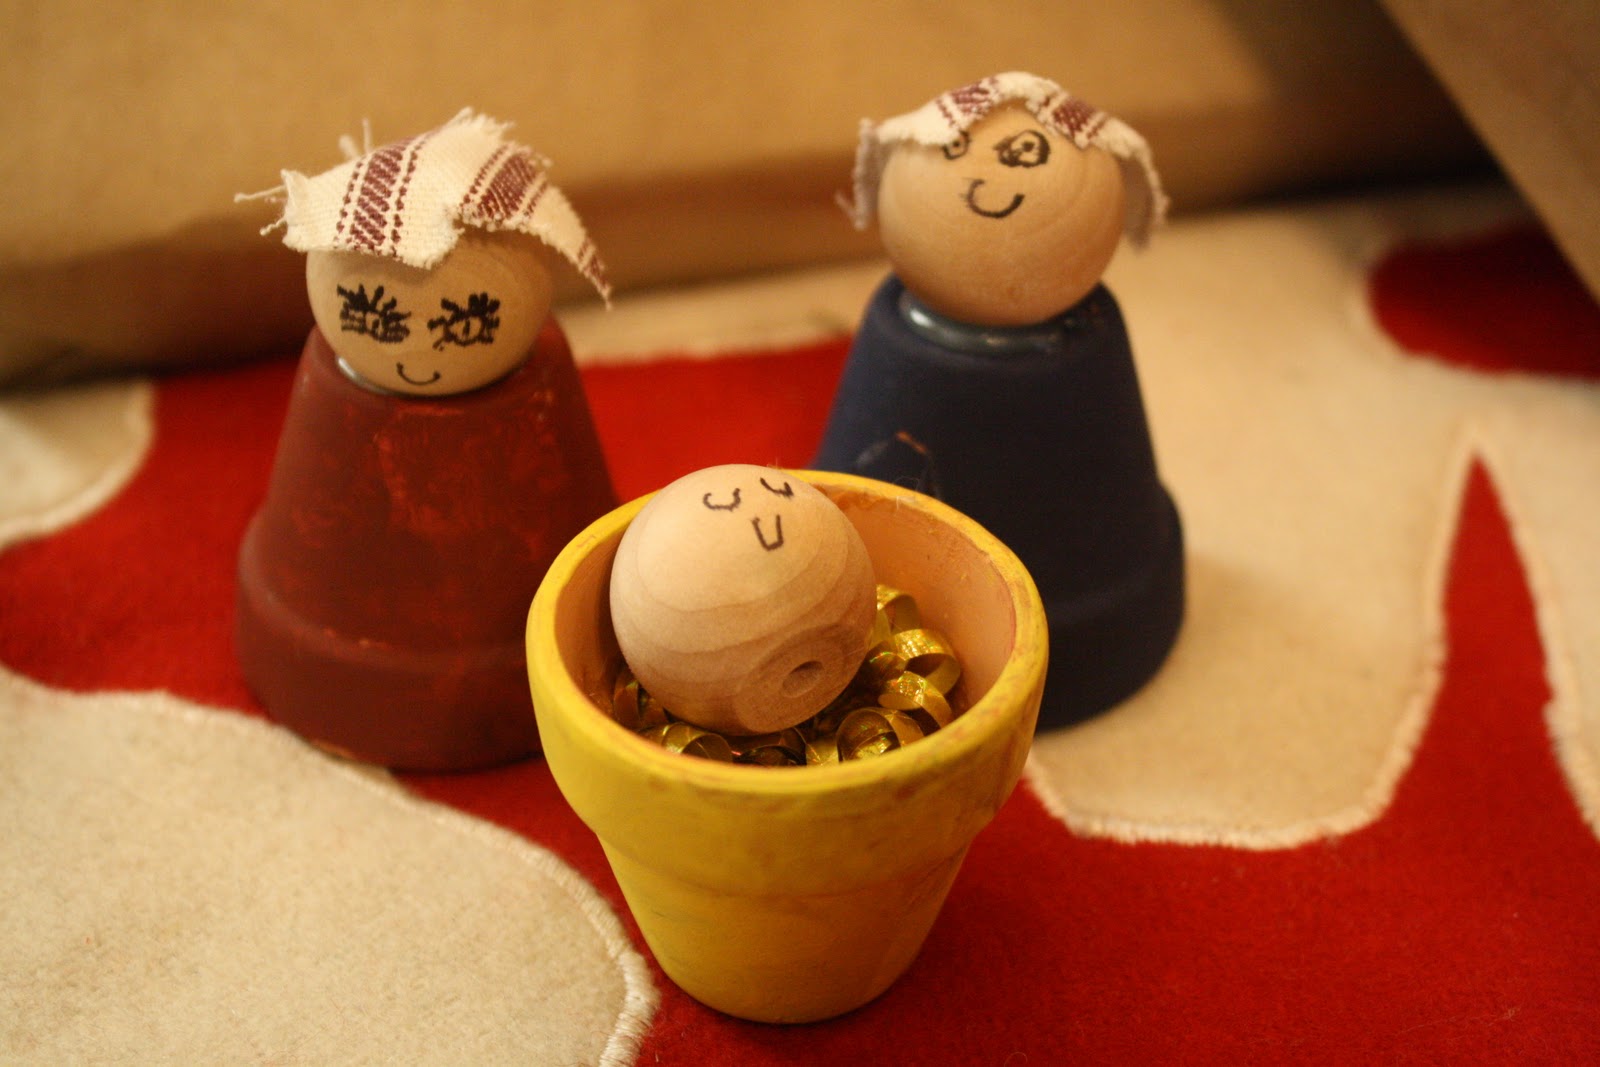
This table exemplifies why we celebrate Christmas...Mary holding her precious baby, Jesus.  The tulle wrapped around the centerpiece gives it an ethereal feel.


Look at all the different Christmas trees on this table!  And I love the mini silver vases in the different shapes topped off with these gorgeous red roses!


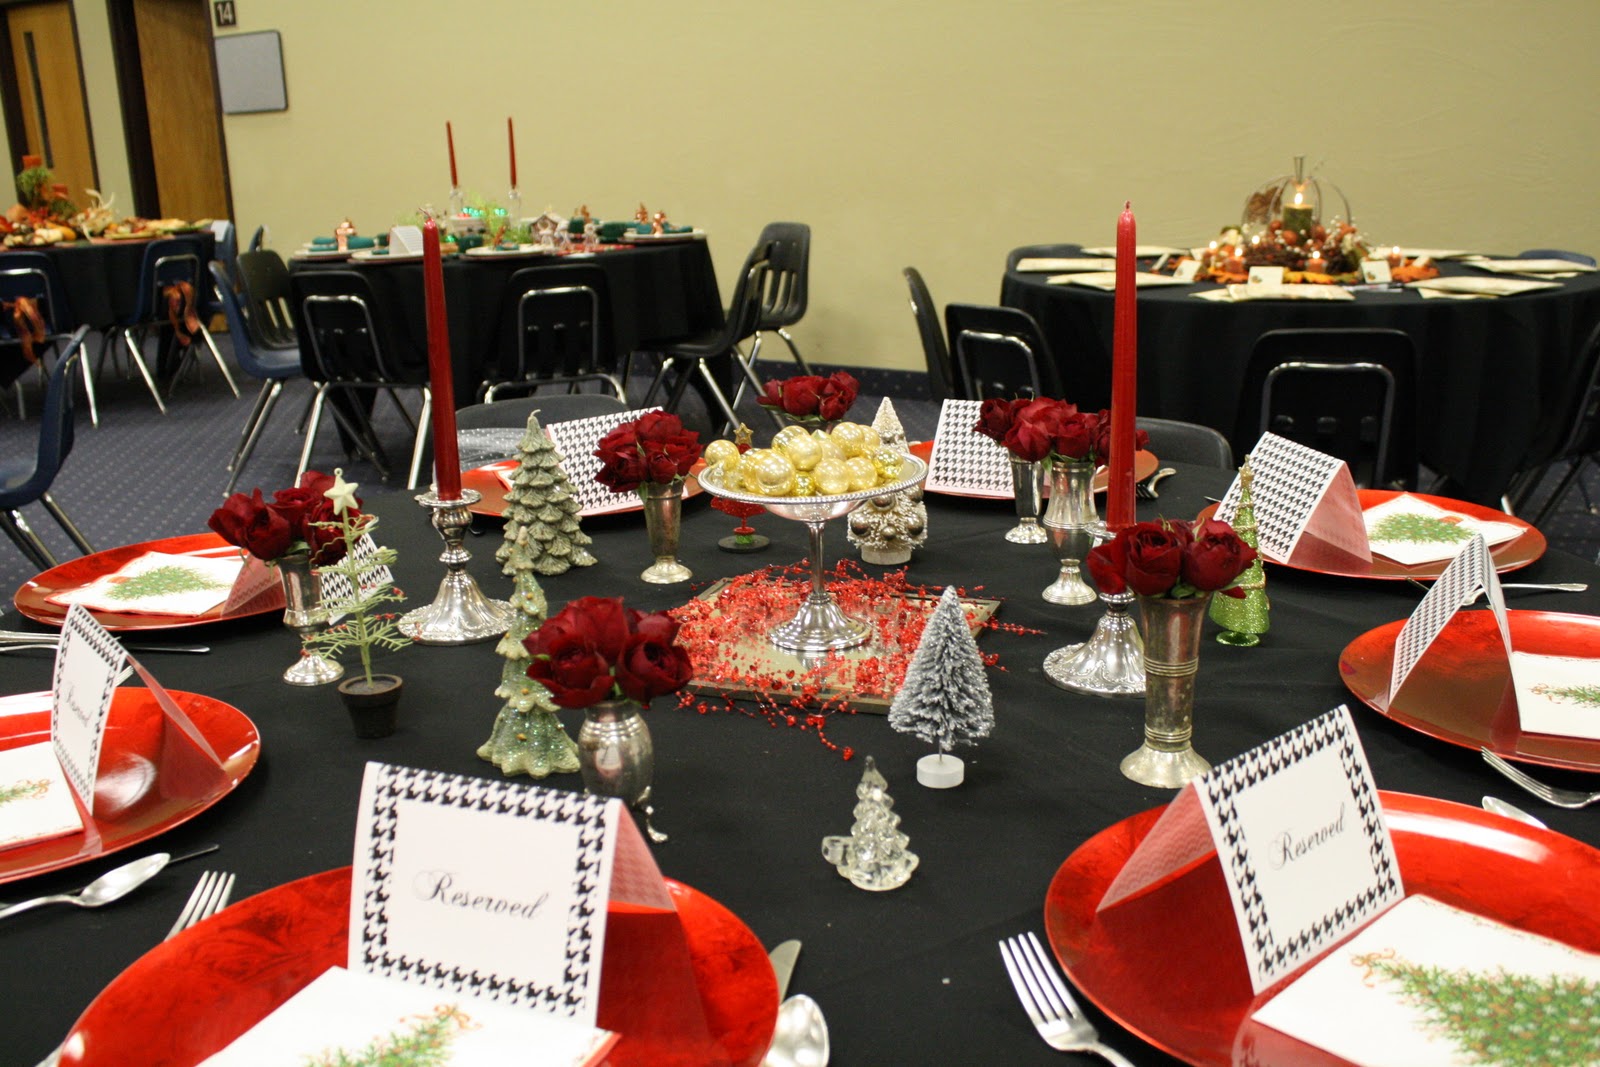
And finally, here is my table.  Red and white.  The two most popular things on the table were the candle rings (I made them and here's my tutorial!) and the ornament cookie jar.  Well, I can help with the candle rings but the cookie jar came from Sam's Club two years ago.  They do have some other cute ones out right now, though.

These place setting are just my everyday dishes with a reversible napkin (I made these also and I'll show you how in an upcoming tutorial!) and one of my Christmas ornaments.


 Again, all these beautiful tables are from the talented ladies of Covenant Community Church in Yukon, OK.  Way to go, gals!


If you liked what you saw (and I really hope you did), would you consider following me or leaving a comment?  That would make me very happy!